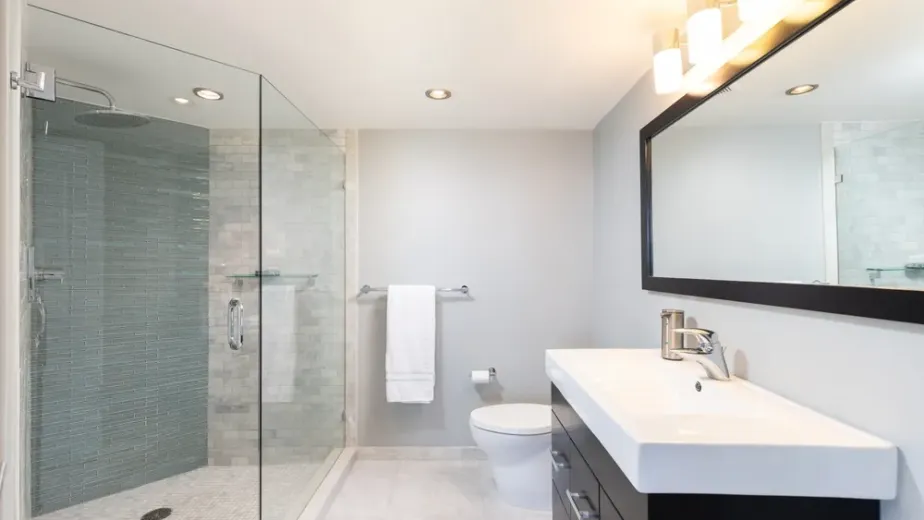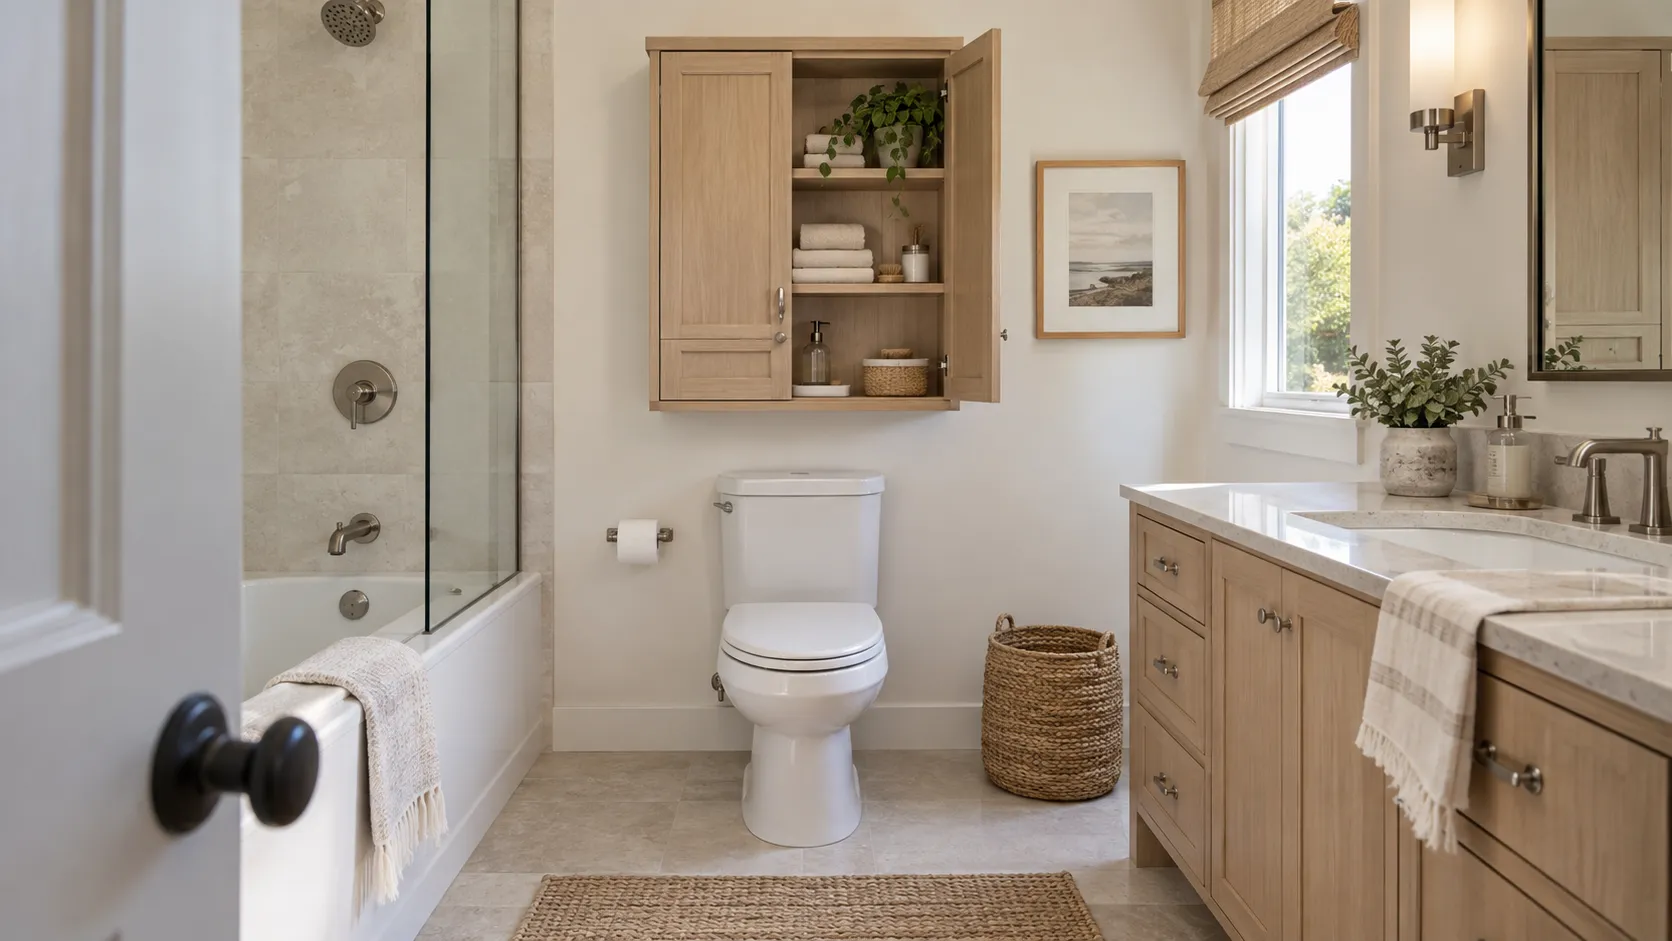
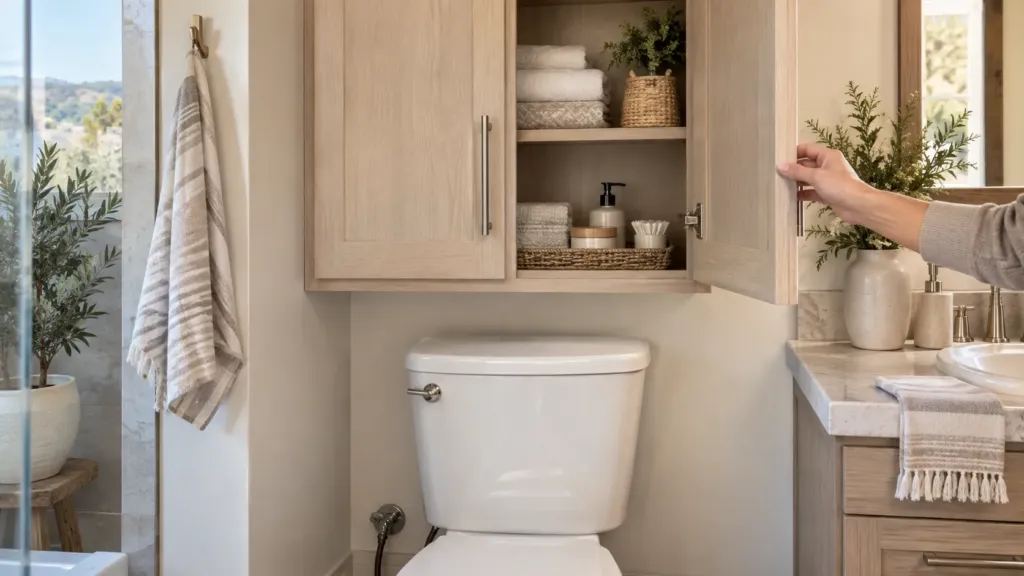
An over-the-toilet cabinet can turn an underused wall into practical storage without taking floor space from a compact bathroom. The project looks straightforward, but a good installation depends on more than placing the cabinet at eye level and driving in a few screws. The cabinet must clear the toilet, open comfortably, stay level, and remain securely connected to the wall when it is loaded with towels and toiletries.
If you are learning how to install an over-the-toilet cabinet in 6 easy steps, begin with the wall, the cabinet’s mounting system, and the clearances around the toilet. The steps below cover those checks without assuming that every bathroom or cabinet is built the same way.
The cabinet manufacturer’s instructions always take priority because cabinet weight, mounting rails, fastener locations, and wall requirements vary. If the wall may contain plumbing or electrical lines, or if the cabinet must be mounted over tile, pause before drilling and confirm what is behind the finished surface.
Plan the Cabinet Location Before Drilling
Begin by evaluating the whole fixture wall rather than measuring only the empty rectangle above the tank. This helps prevent the cabinet from interfering with plumbing access, door movement, or comfortable reach.
Measure the Toilet and the Available Wall
Measure from the finished floor to the top of the toilet tank, then record the tank width and the distance from the tank to nearby walls, windows, mirrors, towel bars, and switches. Measure the cabinet itself rather than relying only on the carton dimensions. Decorative trim, door overlays, hinges, and projecting hardware can change the usable clearance.
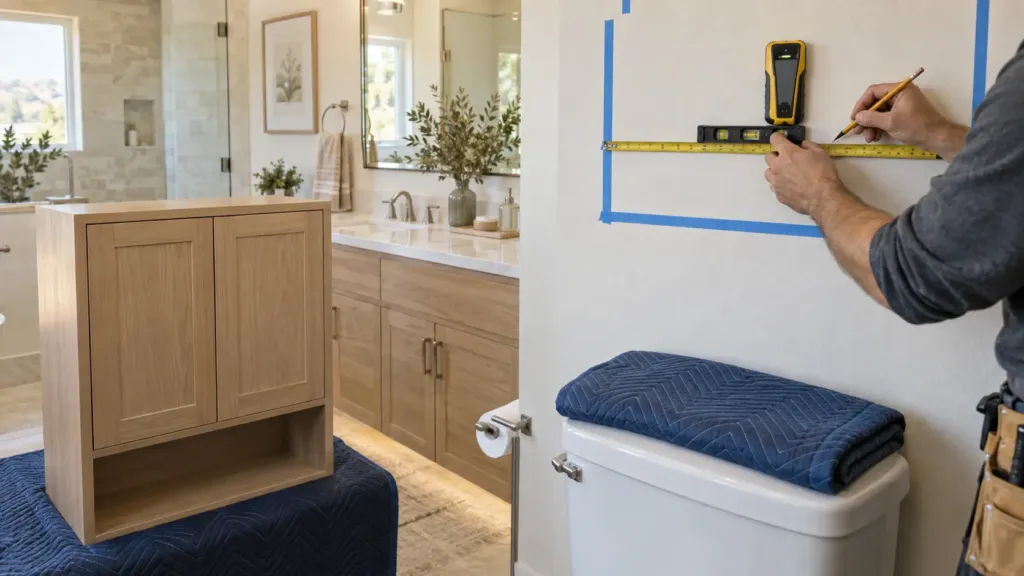
Leave enough room to lift the tank lid and reach the shutoff valve, supply line, and toilet connections. A cabinet that blocks service access may save storage space today but create unnecessary labor when the toilet needs maintenance. Before marking the wall, hold painter’s tape in the cabinet’s proposed outline and view it from the doorway. This quick mockup reveals whether the unit feels centered and proportional.
Test Door Swing and Everyday Reach
Open doors need room to clear side walls, light fixtures, and a person standing in front of the toilet. If the cabinet has deep doors, check whether they intrude into the path of an adjacent shower door or bathroom entry door. Also consider who will use the storage. Frequently used items should be reachable without leaning over the toilet or standing on the seat.
A lower position may improve access but reduce space above the tank. A higher position may look airy but make shelves inconvenient. There is no universal mounting height that works for every cabinet and household, so use the product instructions, room proportions, and real reach instead of copying a photograph.
Check the Wall for Plumbing, Wiring, and Tile
Bathrooms can conceal water lines, drain vents, electrical cable, and blocking inside the wall. A stud finder is useful, but it should be treated as one source of information. The guide to finding wall studs from Better Homes & Gardens describes several confirmation methods, including looking for fastener patterns and checking around nearby openings.
Be especially cautious directly above a toilet because the wall may contain a vent stack or water supply route. Do not assume a clear stud reading means the drilling path is free of utilities. If the mounting point is uncertain, use a qualified professional to investigate before making holes.
Gather the Right Tools and Fasteners
Set out every tool, fastener, shim, and support before lifting the cabinet. This keeps the work area organized and avoids having to search for hardware while the cabinet is being held in position.
Match Fasteners to the Cabinet and Wall
Use the fastener type and diameter required by the cabinet manufacturer. For a loaded wall cabinet, fastening into wood studs or approved structural blocking is generally preferable to relying on drywall alone. Metal studs, masonry, plaster, and tiled walls require different drilling methods and anchors, so a fastener labeled for one wall type should not be substituted for another.
A cabinet may include a mounting rail, hanging cleat, or reinforced back panel. Fasteners must pass through the intended structural part of the cabinet, not through a thin decorative back. The Home Depot wall cabinet installation guide offers a useful overview of stud marking, temporary support, leveling, and cabinet fastening, but the instructions supplied with your exact unit remain the controlling reference.
Prepare the Work Area and Basic Tools
A typical installation uses a tape measure, pencil, level, stud finder, drill or driver, suitable drill bits, screws or anchors approved for the wall, and shims. A temporary ledger board or stable support can carry the cabinet while it is positioned. Protect the toilet lid and tank with a padded cover, but never use the toilet itself as a work platform.
Remove cabinet doors and adjustable shelves when the manufacturer allows it. The lighter cabinet box is safer to lift and easier to level. Keep the hinges, shelf pins, and hardware organized so they return to their original positions.
Follow the Six-Step Installation Method
The section below explains how to install an over-the-toilet cabinet in 6 easy steps: measure, verify, mark, prepare, anchor, and test. Complete each stage before moving to the next because a small layout error becomes harder to correct after the first permanent hole.
Step 1: Set the Cabinet Height and Centerline
Transfer the cabinet outline from the painter’s-tape mockup to light pencil marks. Establish a vertical centerline based on the toilet, vanity composition, or wall section that should visually organize the cabinet. Then mark the intended bottom edge.
Check the measurement at both sides rather than assuming the floor or toilet tank is perfectly level. The cabinet should read as level to the room and maintain the required service clearance. If the wall is visibly uneven, note where shims may be necessary before fastening.
Step 2: Locate and Confirm Wall Studs
Scan the proposed mounting zone with a stud finder, marking both edges of each suspected stud so you can estimate its center. Confirm the reading with a second method appropriate for the wall. A small verification hole may be acceptable in an area that the cabinet will cover, provided the path has been checked for utilities.
Compare stud locations with the cabinet’s mounting points. If they do not align, do not randomly add holes to the cabinet. Use the manufacturer’s approved rail, cleat, blocking method, or anchor solution. For a heavy cabinet or uncertain wall, this is the moment to involve a carpenter or remodeling contractor.
Step 3: Mark a Level Fastening Line
Use a long level or laser to extend a reference line across the mounting area. Mark the fastener locations on that line and compare them with the cabinet back or mounting rail. Measure one more time from the tank and nearby trim.
If you are using a temporary ledger, place its top edge at the planned cabinet bottom and fasten it only where the wall can safely receive screws. The ledger must be straight, level, and capable of supporting the cabinet during positioning. Plan how its screw holes will be patched after removal.
Step 4: Prepare the Cabinet for Mounting
Remove the doors and shelves if permitted, then identify the reinforced hanging points. Pre-drill pilot holes where required so screws do not split a wood rail or wander off the stud center. If the cabinet uses a French cleat or metal rail, install the wall component in the specified orientation.
Dry-fit decorative top trim, side fillers, or lower valances before lifting if those parts affect clearances. Do not attach pieces that block access to the structural fasteners. The mounting screws should remain inspectable and serviceable after installation.
Step 5: Lift, Level, Shim, and Anchor
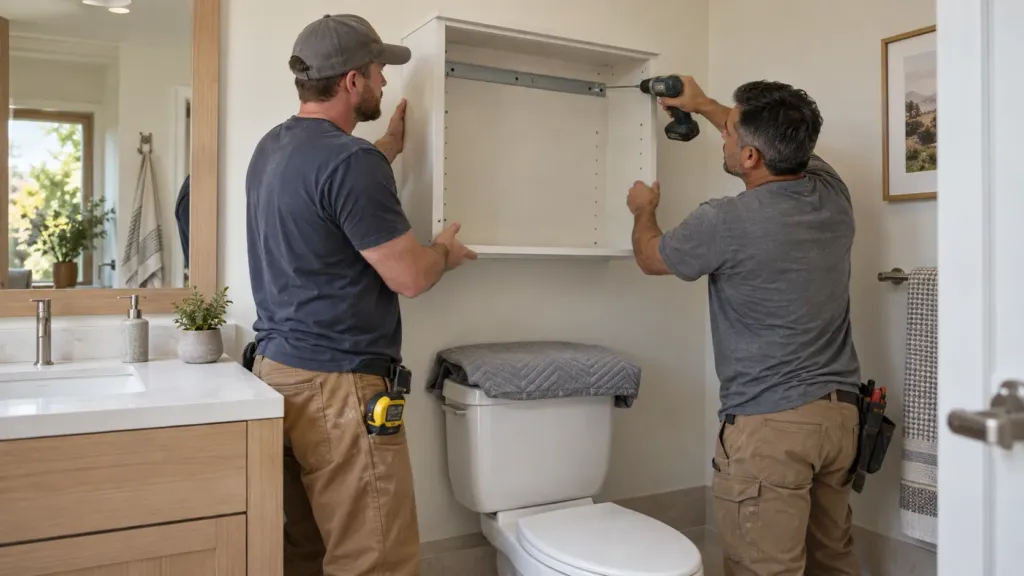
Use a helper for any cabinet that is awkward or heavy. Rest the box on the ledger or other stable support, align it with the centerline, and check level from side to side. Also check that the face is plumb and that the box is not twisted against an uneven wall.
Insert shims behind the cabinet at fastening points where gaps exist. Drive the approved fasteners through the reinforced mounting area and into the studs, blocking, rail, or specified anchors. Tighten gradually, alternating between points so the cabinet stays aligned. Stop when the cabinet is secure; excessive force can deform the box, crush drywall, or pull the unit out of square.
Step 6: Reassemble and Perform a Load Test
Reinstall the doors, shelves, and hardware. Adjust hinges until the reveals are even and the doors close without rubbing. Remove the temporary ledger, patch its holes, and touch up the wall finish.
Test the cabinet before loading it fully. Apply gentle pressure at the lower corners and confirm that the box does not rock, pull away from the wall, or make fastener noise. Add contents gradually, keeping heavier items on lower shelves and staying within the manufacturer’s load limits. Confirm that the tank lid, supply valve, and toilet controls remain accessible.
Make the Cabinet Look Integrated with the Bathroom
Once the cabinet is secure, compare its proportions and finish with the vanity, lighting, and architectural lines. Small alignment choices can help the unit feel connected to the room rather than placed there as an afterthought.
Coordinate the Cabinet with the Vanity
Repeat one or two elements from the vanity rather than trying to match every detail. A shared paint color, door profile, wood tone, or hardware finish can create continuity. Aligning the cabinet’s side edge with the toilet centerline or another strong vertical line helps the small wall feel orderly.
For more complete planning ideas, Kitchen Art Floor and Bath’s guide to modern bathroom design and remodeling explains how storage, finishes, lighting, and layout work together. This matters in Laguna Hills homes where a compact bath may need storage without sacrificing a calm, open feeling.
Plan for Moisture and Cleaning
Choose a finish intended for bathroom conditions and follow the manufacturer’s cleaning instructions. Leave ventilation paths open and avoid placing damp towels inside a closed cabinet. If the room lacks effective exhaust, the cabinet surface and hardware may experience more moisture than expected.
Caulk should not be used to conceal a large installation gap or glue the cabinet permanently to the wall. A small, cleanable joint may be appropriate where specified, but serviceability matters. Future owners should be able to remove the cabinet without destroying the wall or adjacent tile.
Avoid the Most Common Installation Mistakes
Some mistakes do not become obvious until the cabinet is loaded. Reviewing the common failure points below helps protect the storage unit, the wall, and the surrounding bathroom finishes.
Do Not Depend on Drywall Alone
Drywall is a finish material, not a substitute for structural support. Generic plastic anchors may be suitable for light accessories, but a cabinet carrying bottles, towels, and supplies creates a different load. Use the cabinet manufacturer’s approved mounting method and verify what the anchor is attaching to.
If no suitable stud aligns with the cabinet, a properly installed rail or blocking system may distribute the load. This work can require opening and repairing the wall, but it creates a more trustworthy result than guessing with multiple anchors.
Do Not Ignore Access or Movement
A cabinet installed too close to the tank can prevent lid removal. One mounted too low can make the toilet feel confined and create a head-bump risk when someone stands. A door that collides with a wall or light fixture will loosen hinges over time.
Test these interactions with the tape mockup and, if practical, a cardboard profile representing the cabinet depth. A few minutes of physical testing is more informative than relying only on a front elevation.
Do Not Force an Uneven Cabinet into Square
Walls are rarely perfectly flat. Pulling a cabinet tightly against a bowed surface can rack the box and create uneven doors. Shims at structural fastening points allow the cabinet to remain square while the fasteners stay tight.
Recheck level and door alignment after every major tightening step. If a shim slips or a fastener misses its target, stop and correct the issue rather than adding another screw nearby.
Know When the Project Needs More Than a Basic DIY Installation
A cabinet on a clear painted-drywall wall may be manageable for an experienced DIYer. Tile, concealed utilities, uncertain framing, or a heavy cabinet can make the same project more complex, so assess the wall and mounting system before deciding how to proceed.
Tile, Stone, and Concealed Utilities Increase Risk
Porcelain, glass, and natural-stone tile can chip or crack when drilled with the wrong bit, pressure, or technique. The hole must also align with a suitable structural connection behind the finish. Repairing a misplaced hole in a patterned tile installation may be difficult or impossible without replacing a full piece.
Professional help is also appropriate when plumbing or wiring appears likely in the drilling path. If installation requires moving an outlet, adding lighting, or changing concealed utilities, review Kitchen Art Floor and Bath’s bathroom permit guidance and confirm local requirements before work begins.
Custom Storage May Solve the Room Better
A stock cabinet is not always the best use of the wall. An unusually narrow toilet alcove, sloped ceiling, side wall, or off-center fixture may benefit from custom cabinetry, open shelves, a recessed niche, or storage integrated with the vanity.
A remodeling professional can evaluate these options as part of the whole room rather than treating the toilet wall in isolation. That broader view can improve reach, cleaning, door clearance, and visual balance at the same time.
Frequently Asked Questions
These concise answers address the questions homeowners most often ask about over-the-toilet cabinet placement, fastening, and installation.
How high should an over-the-toilet cabinet be?
There is no single height for every room. The cabinet must clear the tank and allow access to plumbing while keeping shelves usable. Follow the product instructions, test the outline with painter’s tape, and choose a height that suits the household.
Does the cabinet have to be attached to studs?
Fastening into studs or structural blocking is usually the strongest approach. If the cabinet system allows another method, use only anchors and rails approved for the wall type and the expected loaded weight.
Can I install the cabinet over bathroom tile?
Yes, but drilling tile requires the correct bit, careful technique, and a verified structural attachment behind the finish. Hire a professional when the tile is fragile, difficult to replace, or likely to conceal utilities.
Can one person hang an over-the-toilet cabinet?
A small, light box may be manageable with a secure ledger, but a helper makes lifting and alignment safer. Never balance on the toilet or try to hold a heavy cabinet with one hand while driving fasteners with the other.
Should I assemble the cabinet before hanging it?
Follow the manufacturer’s instructions. Many cabinets are mounted as assembled boxes after doors and shelves are removed, while others use a rail or cleat installed first. Do not improvise a sequence that bypasses the intended mounting system.
What should I store above the toilet?
Use the cabinet for light, frequently used bathroom items such as towels and toiletries. Keep very heavy, breakable, or hazardous products elsewhere, and respect the shelf and cabinet load ratings.
Final Check: Secure and Accessible Bathroom Storage
Before considering the job complete, confirm that the cabinet is level, securely fastened, easy to open, and positioned so the toilet and plumbing remain serviceable.
If the project involves custom cabinetry, tile drilling, concealed utilities, or a broader bathroom update, Kitchen Art Floor and Bath can review the room as a complete design. Homeowners can schedule a bathroom remodeling consultation to discuss the space, practical constraints, and suitable next steps.