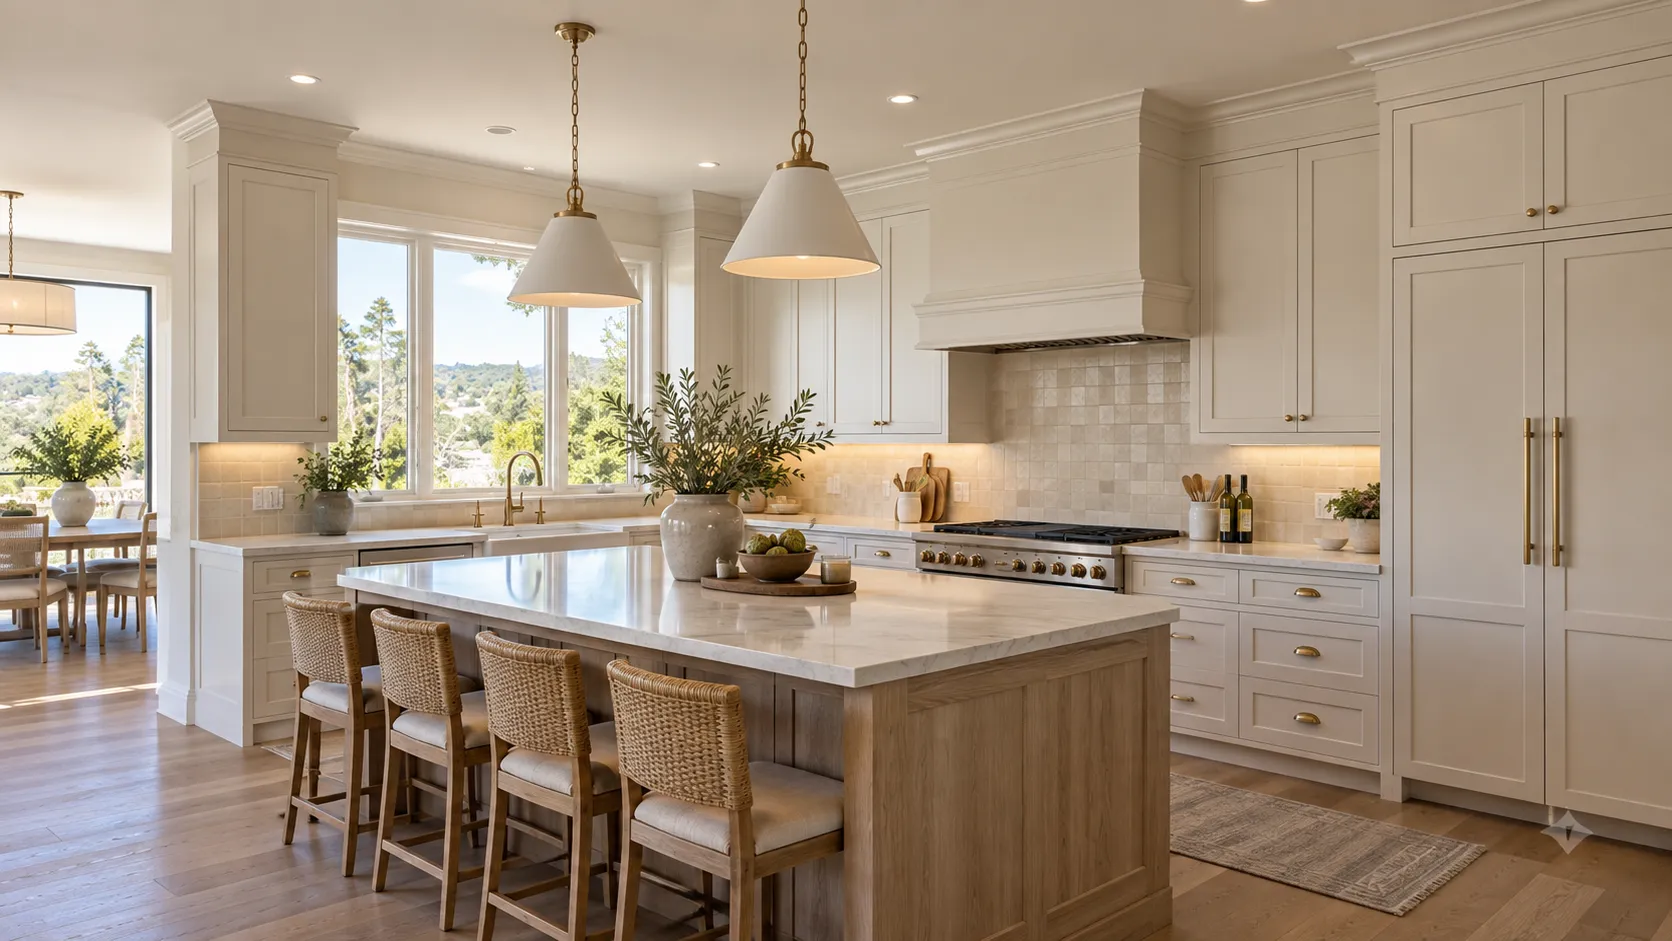
Cabinet crown moulding can make a row of upper cabinets feel architectural rather than simply mounted to the wall. The trim adds height, closes distracting gaps, and creates a deliberate transition between cabinetry and the ceiling. It can also expose every small measuring error, uneven ceiling line, and inconsistent reveal.
If you are learning how to install kitchen cabinet crown moulding, start by checking the cabinet alignment, the available attachment surface, and the ceiling line. Cabinet crown differs from ordinary room trim because it must follow the cabinetry while accounting for doors, fillers, changing depths, and uneven ceilings.
Before cutting the finished material, read the cabinet and moulding manufacturers’ instructions. Profiles, spring angles, finishes, attachment systems, and allowable fastening locations vary. If the cabinets are newly installed, confirm that they are level, plumb, joined correctly, and securely fastened before adding trim.
Understand How Cabinet Crown Moulding Is Supported
Cabinet crown needs a reliable place to attach. First identify whether the profile fastens to a face frame, a built-up riser, a wood nailer, or a manufacturer-designed mounting strip.
Examine the Cabinet Construction
Face-frame cabinets may provide a front rail that can accept trim, although door overlay and hinge clearance still need to be checked. Frameless and full-overlay cabinets often provide little usable surface above the doors, so an added nailer or riser may be required. The support must be attached to the cabinet structure, not merely to a thin top skin or decorative panel.
If the project uses ready-to-assemble boxes, complete alignment and fastening before crown work begins. Kitchen Art Floor and Bath’s guide on how to assemble RTA cabinets explains why square cabinet boxes and accurate connections matter before decorative finishing is added.
Decide Whether the Crown Will Reach the Ceiling
Crown can terminate below the ceiling with a consistent shadow line, or it can meet the ceiling to create a built-in appearance. A floating installation is more forgiving when ceilings rise, dip, or wave. Ceiling-contact crown looks formal but requires careful planning because the top edge makes irregularities more visible.
Do not assume the ceiling is level because the cabinets are. Measure the gap above the cabinet run at multiple points. A difference that seems minor on a tape measure can become obvious when a crisp painted profile touches the ceiling.
Protect Door and Appliance Clearances
Open every upper cabinet door before finalizing the reveal. The lower edge of the crown, riser, or nailer must not interfere with door travel. Pay particular attention to full-overlay doors, lift-up doors, tall pantry doors, and refrigerator panels.
Check crown near adjacent walls, range hoods, ceiling beams, soffits, and tall appliance enclosures. A profile that fits comfortably above standard wall cabinets may look compressed or collide with trim where the layout changes height.
Plan the Profile, Reveal, and Material Quantities
The cutting stage becomes easier when the visual rules are decided first. Document the reveal, corner strategy, finish method, and piece order before turning a set of measurements into finished cuts.
Choose a Profile That Fits the Cabinet Scale
Large, layered crown can suit a tall traditional kitchen, while a narrow, simple profile often looks better on contemporary cabinetry. Consider the height between the cabinet and ceiling, the door style, the room’s ceiling height, and nearby casing or baseboard profiles.
Use a full-size sample at an inside corner and an outside end. A catalogue image does not show how far the crown projects into the room or how much flat surface remains for fastening. If the trim is prefinished, confirm that matching touch-up products and filler are available.
Establish a Consistent Reveal
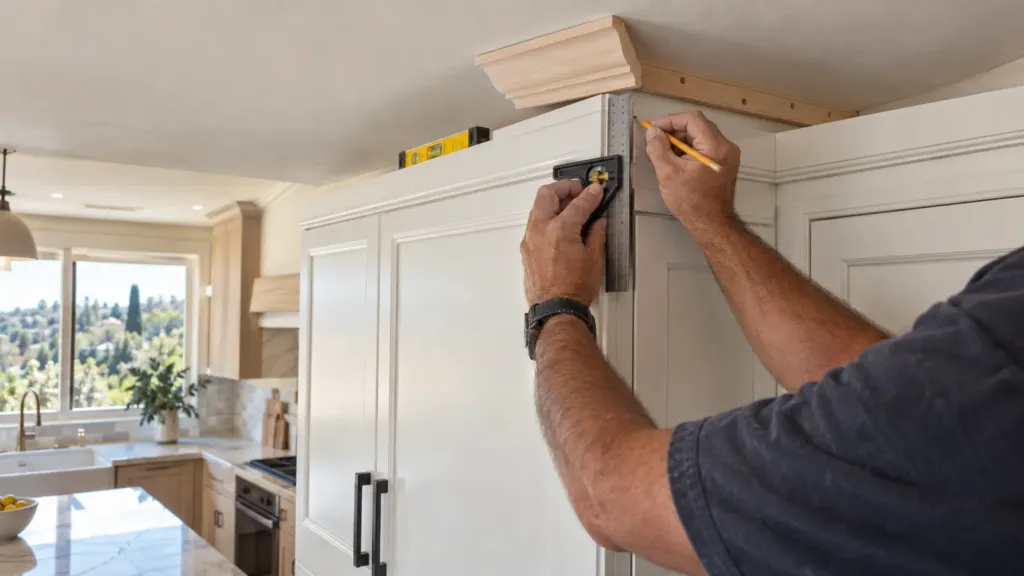
The reveal is the amount of cabinet face, riser, or trim band visible below the crown. Mark this distance on several cabinets and connect the marks with a level or laser. Do not measure independently from the ceiling at every point because an uneven ceiling will transfer its variation into the cabinet line.
A simple gauge block cut to the chosen reveal can speed layout and reduce drift. Place the block against the cabinet top or door reference at each location, then mark the nailer or crown position consistently.
Measure Runs and Allow for Waste
Measure each straight run at the cabinet line where the moulding will sit. Identify inside corners, outside corners, end returns, fillers, and changes in depth. Long pieces may need to be transported through doorways and supported at the saw, so plan around the actual stock lengths available.
Buy extra material for test cuts, defects, and corner fitting. The amount depends on the profile and layout, but complex kitchens need more allowance than a single straight run. Label the back of every cut piece with its wall or cabinet location so similar lengths do not become mixed.
Prepare Tools and a Safe Cutting Setup
Accurate tools do not replace careful setup. Provide stable support for long stock, verify the saw angle, and prepare a testing method that does not consume the finished material.
Set Up the Saw for the Chosen Cutting Method
Cabinet crown can be cut nested against the saw fence in the same orientation it will sit, or cut flat using compound mitre and bevel settings. Use the method recommended for the profile and the saw. Do not mix methods midway through the project because the angle logic changes.
When cutting nested, make sure the crown contacts the fence and table consistently at its wall and ceiling flats. A crown stop can keep the spring angle repeatable. When cutting flat, verify the exact spring angle and use the correct compound settings rather than relying on a generic chart.
The Fabuwood six-step cabinet crown moulding guide shows one common approach that adds wood to the cabinet top to create an attachment surface. Treat it as a useful overview, then adapt the details to the actual cabinet and moulding system in front of you.
Use Test Blocks and Record the Orientation
Cut short left- and right-hand samples for inside and outside corners. Label each block on the back with top, bottom, left, right, and corner type. These samples become physical references when a long piece is rotated at the saw.
Place painter’s tape on the saw fence with orientation notes if needed. Crown moulding errors often happen because the installer remembers the angle but flips the stock. A labelled sample is faster and more reliable than mentally reversing the geometry for every cut.
Control Dust and Protect Finished Cabinets
Use eye and hearing protection, follow the tool manufacturer’s safety instructions, and support long material so it cannot tip or bind. Keep hands outside the saw’s marked danger zone and allow the blade to stop before lifting it through the cut.
Protect countertops, appliances, cabinet doors, and floors from sawdust, adhesive, and dropped tools. If the kitchen is occupied, isolate the cutting area and remove food-preparation items before work begins.

Install Kitchen Cabinet Crown Moulding Step by Step
The process below shows how to install kitchen cabinet crown moulding in a practical order: establish the reveal, build the support, fit each piece, secure the joints, and finish only after the complete run has been checked. Dry fitting is part of the installation, not an optional extra.
Step 1: Confirm Cabinet Alignment and Mark the Reveal
Place a level across the cabinet faces and tops. Confirm that adjacent boxes are joined without steps and that end panels sit flush where the crown will pass. Correct cabinet alignment before adding trim because crown cannot compensate cleanly for a twisted or uneven box.
Mark the reveal on the front and exposed sides of the cabinet run. Use a laser, long level, or gauge block to keep the line consistent. At tall cabinets and depth changes, draw the complete profile transition so the end treatment is understood before cutting.
Step 2: Install Nailers, Risers, or Cleats
Cut the support material to fit the cabinet run and locate it so the crown lands on the reveal line. Fasten the support into structural cabinet components with the screw or fastening method approved by the cabinet manufacturer. Keep fasteners clear of hinge plates, door hardware, wiring, and finished faces.
The support does not need to be decorative if the crown fully conceals it, but it must be straight, secure, and set back correctly. Recheck the reveal after every section. A riser that wanders by even a small amount will make the crown appear to rise or fall across the cabinets.
Step 3: Plan the Installation Order
Start with the longest or most visually important run when that choice simplifies fitting. Many installers fit inside corners before closing an outside corner, while others choose a sequence based on which ends can be left long and trimmed gradually.
Write the order on a simple sketch. Identify which joints will be mitred, coped, butted, or returned. Professional crown installation guidance from Fine Homebuilding emphasizes controlled fitting and thoughtful sequence because the final corner can be difficult to close if every earlier piece has already been fixed rigidly.
Step 4: Cut and Fit the First Piece
Begin with a piece that has at least one square or easily controlled end. Cut it slightly long, test the fit, and trim in small increments. The goal is a snug fit that does not bow the moulding or force the cabinet out of alignment.
Hold the piece on the reveal line and check that both flats contact the support as intended. Mark the actual corner position directly on the stock when possible. Transfer measurements are often more reliable than reading a tape into a complex angled joint.
Step 5: Form Inside and Outside Corners
Inside corners can be mitred or coped depending on the profile, finish, and installer preference. Coping can accommodate small corner variation because one piece follows the face of the other. A clean mitre may work well on precise cabinetry, especially with prefinished material, but the actual corner should be checked rather than assumed to be exactly square.
Outside corners draw the eye and should close tightly at the face and decorative edges. Dry fit both pieces together before fastening either one permanently. Use the adhesive recommended for the material at the joint, remove squeeze-out promptly, and support the corner until the bond is stable.
Step 6: Fasten the Crown without Distorting It
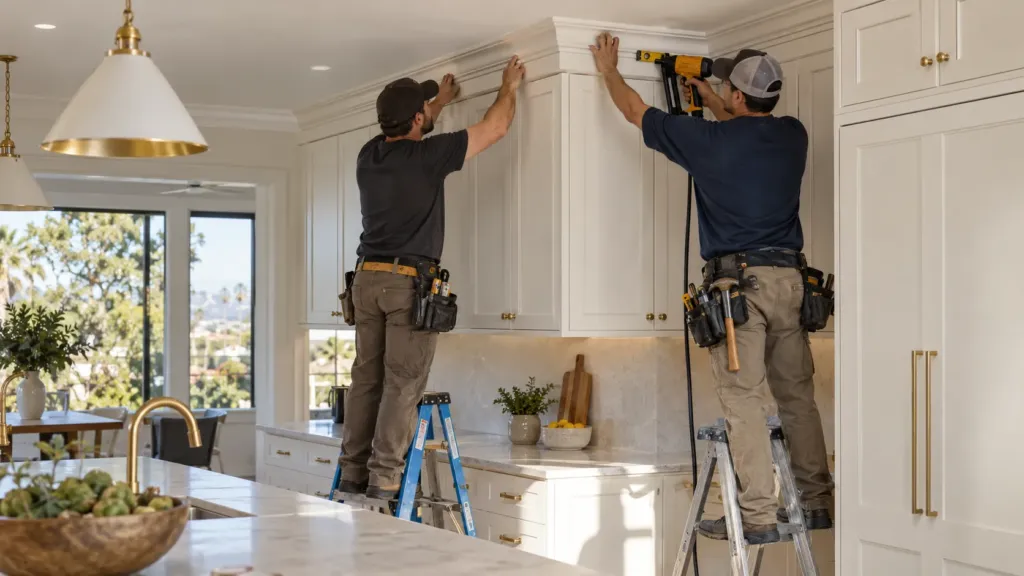
Fasten through the moulding’s flat attachment area into the nailer, riser, or approved cabinet structure. Use fasteners sized for the material and support thickness so they do not penetrate a visible surface or interfere with doors.
Work from one end while checking the reveal. Avoid forcing crown against an uneven ceiling if the design calls for a floating shadow line. The Home Depot wall cabinet installation overview includes a basic crown-fastening example, but a detailed cabinet system may require a different rail or support method.
Step 7: Fill, Caulk, Touch Up, and Inspect
Set or fill nail holes with a product compatible with the finish. Use paintable caulk sparingly at painted joints and ceiling lines where a small flexible gap is expected. Stained wood usually needs colour-matched filler and more precise joints because caulk will not disappear into the grain.
Sand and touch up only as recommended for the finish. Clean the cabinet surfaces, reinstall any removed doors, and inspect the crown from the main kitchen entrances in daylight and under task lighting. A joint that looks acceptable from the ladder may become noticeable from across the room.
Handle Uneven Ceilings and Difficult Transitions
Real homes rarely provide perfectly square corners and level ceilings. Plan for those irregularities rather than forcing the trim into place and relying on caulk to conceal the difference.
Float the Crown or Scribe a Planned Filler
When the ceiling varies, maintaining a level cabinet-based reveal and leaving a controlled shadow line often looks cleaner than following every dip. Paint the wall or ceiling surface behind the gap before installation so the line reads intentionally.
If the design requires ceiling contact, a scribed filler, frieze board, or built-up trim assembly can absorb variation. This approach separates the level cabinet crown from the uneven ceiling and gives the installer material that can be shaped without distorting the main profile.
Use Returns and Transition Blocks Deliberately
An exposed crown end should not stop with a raw angled cut. Create a short return that brings the profile back to the cabinet or wall, or use a designed end block. Secure small return pieces with the appropriate adhesive and handle them carefully because brad nails can split them.
Corner blocks can simplify difficult geometry, but they should match the cabinet style rather than look like a repair. At changing cabinet depths, sketch the transition in plan view and test it with scrap before cutting the finished crown.
Know When the Layout Needs Redesign
If crown collides with a ceiling beam, window casing, range hood, or tall cabinet, the problem may not be solvable with a smaller mitre. A reduced profile, stepped riser, intentional break, or different cabinet height may create a more coherent result.
These decisions are easier during design than after cabinet installation. Kitchen Art Floor and Bath’s guide on how to remodel a kitchen provides broader planning context for coordinating cabinetry, appliances, lighting, and finish details before fabrication.
Avoid Common Crown Moulding Mistakes
Most failed installations are not caused by one dramatic error. They come from several small inconsistencies in measurement, orientation, fastening, and fitting. Reviewing these points can reduce rework and material waste.
Do Not Cut Every Piece from Measurements Alone
Walls and corners differ from plan dimensions. Cutting the entire kitchen before dry fitting the first run can produce a stack of pieces that are consistently short or use the wrong corner orientation.
Fit one piece at a time and transfer marks directly where practical. Keep a cut list, but treat it as a working document that is updated after each installed section.
Do Not Fasten into Thin or Unapproved Surfaces
A nail that penetrates only a thin cabinet top or decorative skin may appear secure until seasonal movement or cleaning pressure loosens it. Build a structural attachment surface and keep the crown fasteners within its safe zone.
Do not place fasteners where they can emerge through a finished panel. Check length, angle, and support thickness with a scrap assembly before working on the installed cabinets.
Do Not Use Caulk as a Substitute for Accurate Joinery
Caulk is useful for small paint-grade seams, not large mitre gaps or wandering reveals. Heavy caulk lines collect dust, shrink, and make the profile look soft. Correct the cut or support position when the joint is visibly open.
Stain-grade moulding demands even greater precision because filler rarely matches changing grain and light reflection. Make extra test cuts and reserve the best stock for prominent outside corners.
Make the Crown Look Custom, Not Added Later
Good trim should reinforce the cabinet design rather than compete with it. Evaluate the profile scale, finish, lighting, and transitions from the viewpoints people use when entering and working in the kitchen.
Use Layered Trim with Restraint
A riser, flat frieze, and crown can create a substantial built-in effect, especially in kitchens with tall ceilings. Each layer should have a clear proportion and attachment method. Adding profiles simply to fill space can make the upper cabinets look top-heavy.
Contemporary rooms may benefit from a small square build-up or a clean ceiling filler instead of traditional crown. The best choice relates to the door style, handle shape, backsplash pattern, and other architectural trim.
Match Finish and Grain Direction Carefully
Factory-finished crown should be ordered with the cabinetry when possible so colour and sheen align. Painted site-built trim may need primer, sanding, and finish coats before installation, followed by final touch-up. Test the paint under the kitchen’s actual lighting because slight sheen differences become visible near the ceiling.
For stained wood, plan grain direction and colour variation across long runs. Place less consistent sections in lower-visibility areas and avoid creating a sharp colour change at a prominent outside corner.
Coordinate Crown with Lighting and Ventilation
Above-cabinet lighting can emphasize every gap and surface variation. Test the lighting before final caulk and paint so shadows do not reveal an unintended opening. Keep trim clear of required ventilation paths around appliances and do not cover junction boxes or service panels.
If wiring must be added or relocated, coordinate it before the crown closes access. Electrical changes should be performed by appropriately qualified professionals and handled according to local requirements.
Frequently Asked Questions
These concise answers cover common questions about cabinet crown attachment, corner joints, ceiling gaps, and finishing.
Can crown moulding be attached directly to cabinets?
Sometimes, but only when the cabinet construction provides an approved structural attachment area and the doors have enough clearance. Frameless or full-overlay cabinets often need a nailer, riser, or mounting strip.
Should cabinet crown touch the ceiling?
It can, but it does not have to. A consistent shadow line is often better for uneven ceilings. Ceiling-contact crown may require a scribed filler or built-up trim to maintain a clean appearance.
Is it better to cope or mitre inside corners?
Both methods can work. Coping accommodates small corner variations, while mitres can suit precise cabinetry and prefinished moulding. Choose the method that fits the material, finish, and installer skill.
What size brad nail should be used?
The correct length depends on the crown thickness, support material, and approved fastening depth. Follow the moulding and cabinet manufacturers’ instructions and test the assembly so fasteners cannot penetrate visible surfaces.
Can crown moulding hide uneven cabinets?
It may disguise a small transition, but it should not conceal cabinets that are out of level, plumb, or alignment. Correct the cabinet installation first, then maintain a consistent crown reveal.
How do I finish the exposed end of cabinet crown?
Use a mitred return, designed end block, or transition into a wall or tall cabinet. Avoid leaving a raw angled cut where the profile is visible.
Should crown be installed before or after cabinet doors?
The cabinet boxes should be installed and aligned first. Doors may remain in place for clearance checks, but removing them can protect the finish and improve access. Reinstall and adjust them before the final inspection.
Final Check: Confirm Fit, Finish, and Function
Before considering the installation complete, inspect the crown from the main kitchen entrances and under the room’s normal lighting. Check the reveal, corner joints, fastening points, door clearances, and touch-up work one final time.
If the crown is part of new cabinetry or a broader kitchen renovation, Kitchen Art Floor and Bath can review the trim alongside the cabinet layout, lighting, appliances, and surrounding finishes. Homeowners can schedule a kitchen remodeling consultation to discuss the room and the level of assistance needed.